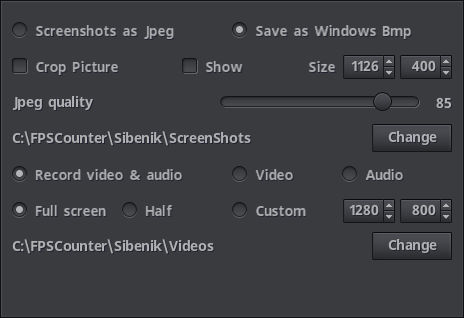
The capture tab holds all the options regarding image and video capture.
To capture a screenshot press F10.
To start/stop video capture press F11. A small white round indicator will be visible on the top left corner of the screen during video recording.
Screenshots as Jpeg, Save as Bmp, screenshots can be saved in either JPEG format or 24bits lossless BMP format.
Crop Picture, Show, Size, screenshots can be cropped before being saved to disk automatically, and can paint a centered square to let you see the cropping area.
Jpeg quality slider sets the quality factor that determines the amount of compression for the Jpeg format, more quality means less compression, bigger file size.
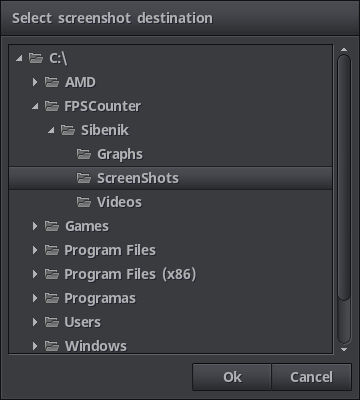
Change sets the destination folder for the screenshots.

Video & audio, video, audio option buttons set what is to be recorded. Video format is Webm, and although video size can be changed, the aspect relationship of the screen cannot. I had to make many tests to find the right point between quality and real time encoding speed, I think I managed to do so, your mileage may vary, as a point of reference my developing machine is an AMD A10-7870K without discrete GPU and can record full hd video without any problems.
Full screen, Half screen set the width and height of the recording.
Custom size will let you set a video size that is not tied to the game's resolution, the size controls will always adapt themselves to a valid encoding size but will never be bigger than full screen.
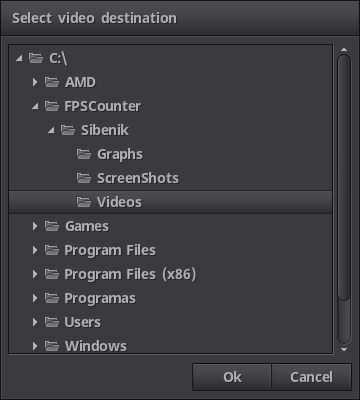
Change sets the destination folder for next recording.

